Hello my fellow fallen and forgotten leaves! I hope you’re all loving the in-your-face era of fall! Pumpkins seem to be everywhere, both in food, drink, and gourd form. Leaves are changing colors, people are breaking out their vests, and last but definitely not least- it’s getting FUCKING cold! Don’t you love living in NY?
Anyways,
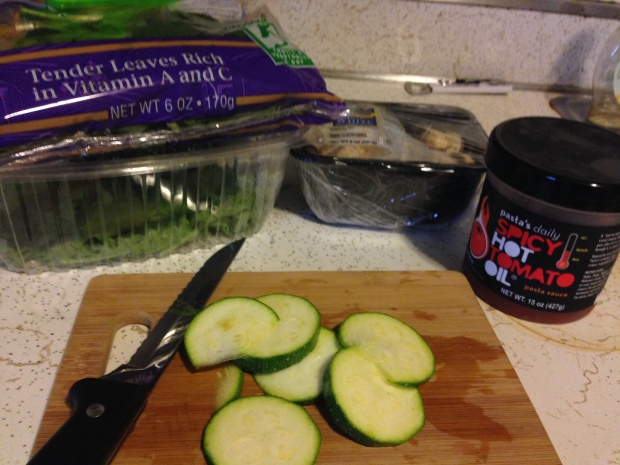
I’ve been lacking a lot of inspiration lately in terms of cooking. It’s probably due to the fact that I’ve been too lazy to run the the grocery store. I genuinely ate leftover mac and cheese one day for breakfast because I didn’t have anything else to eat. Alas, I eventually took my broke ass to Tops and did some shopping.
Shoutout to the cashier girl who saved me $20 cuz I don’t have a bonus card!! Love u, girl.
Recently, my friend Carolyn told me about this overnight oats recipe she tried, and it sounded heavenly. I’ve been hesitant to attempt making overnight oats because I was afraid it would turn out bland and I would end up throwing away perfectly good ingredients. I also have a weird texture-thing about food, and I was a little skeptical that if I used any fruit, it would get too soggy for my standards.
I decided to try one of the overnight oats recipes (sans fruit) and I decided to go with… dare I say it? The Pumpkin Spice recipe (cue groans and boos).
Now listen, I’m not a pumpkin spice person. I think the last time I even ordered a PSL was 3 or more years ago, and I hated it. I did however, buy a box of pumpkin spice cheerios last month… I advise against it, they weren’t that good. I don’t like when things reek of spice. As much as I detest spice, I love pumpkin. I can devour a whole pumpkin pie by myself, I swear. Not only do I have a deep love for pumpkin, but I’ve been living a pretty plant-based diet when I can. I simply prefer eating that way because it makes my body feel better.
So buckle up kiddies, I’m about to show you how I made pumpkin spice overnight oats- and I didn’t end up hating it.
Original recipe can be found here.
The recipe I will be using is completely vegan.
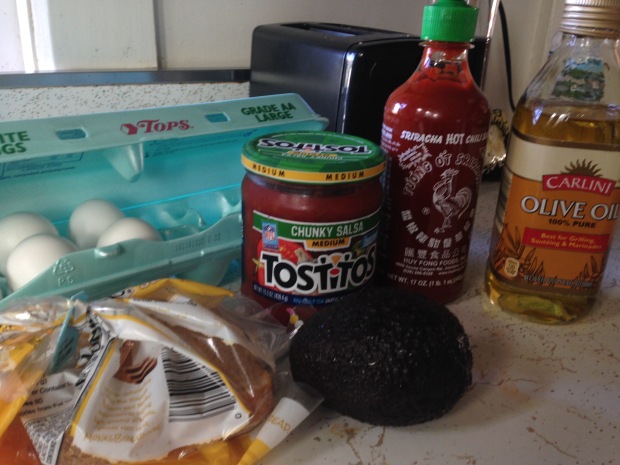
Ingredients w/ Total Estimated Price:
- 1/3 cup vanilla coconut-based yogurt – $2 per container
- 1/2 cup steel cut oats – $4 per container
- 2/3 cups unsweetened almond milk, vanilla flavored – $3 per half gallon
- 1 tbsp chia/flax seed mix – $5.50 for 12oz
- 2 tbsp maple syrup – $3 per bottle
- 1/2 cup pumpkin puree – $2 per can
- 1/2 tsp ground cinnamon – $1.30 per packet
- 1/8 tsp ground cloves – $1.30 per packet
- 1/4 tsp ground nutmeg – $1.30 per packet
- Either a medium/large sized air-tight storage bowl, or medium sized mason jar/canning jar
Instructions:
- Mix everything together in a mixing bowl or in the storage bowl you’ll be using
- Pour mixture into the storage container
- Store in the fridge overnight!
Total Estimated Cost: $4
Total Prep Time: 3 minutes
It’s really that simple. Listen, this recipe isn’t too spiced when combined with all the other ingredients, and you can also alter the recipe as well. The spices actually added some flavor elements to the oats that weren’t overwhelming, and I would definitely make this recipe again.

Actually sat outside on my back porch for once with a spurt of beautiful weather!

Money shot
On the note of spices, SPICES ARE EXPENSIVE, Y’ALL!!! I seriously had NO idea how much a tiny ass baby container of McCormick cloves was until I went to Tops. One of the spices called for this recipe was even $7 in a baby container. Luckily, the Tops near me carries a local brand of spices for $1.29 each. Don’t be fooled by the brand- always look for other resources!!
Until next time, catch me basking in the last rays of sunshine I’ll get till June.